For many developers or small teams, it’s ideal to have a free cloud-based source control system for distributed development work. The benefits are obvious, most people enjoy working at home or creating something that may really excite themselves in after hours. This article introduces how to set up such an environment for your development work. Hope you enjoy it!
GitHub is hot but not free for private projects; Heroku is not free for any project with more than 1 contributor.
In this case, GitLab is a lot better. It offers free unlimited repositories for both public and private projects, 10GB disk space per project, unlimited collaborators and complete project management solutions. This is why GitLab.com is our chosen cloud repository platform.
Here’s the steps:
- Sign up to GitLab.com free unlimited repository hosting service – marked in yellow highlighter below. If you want to host it on cloudatcost or similar server hosting services, you have the option to use Community Edition which is free as well:

- Create your repository on GitLab.com by creating a new project:
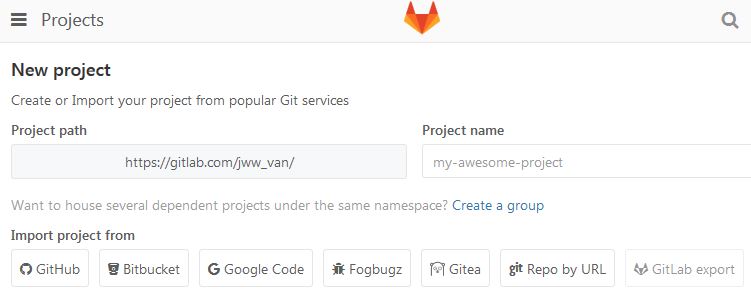
- Once you have your new project created in GitLab, you get a project URL which can be referenced from your local TortoiseGit:

- Install Git and TortoiseGit (Windows Git shell) on your local machine;
- Use the GitLab project URL in TortoiseGit to:
- Add new files, Git Commit -> “master” and Push to GitLab.com;
- Git Clone… project from GitLab.com to your local folder.
GitLab.com offers a series useful tools to manage project, activity, repository, issues and members, etc.

Hope you enjoy the cloud-based GitLab repository and sweet remote development! By the way, there are piles of options on the market, please refer to more options through Comparison of source code hosting facilities. Please contact us should you have any questions.